스프링 부트 Kafka 연동하기
개발환경
- OpenJDK 17
- Docker
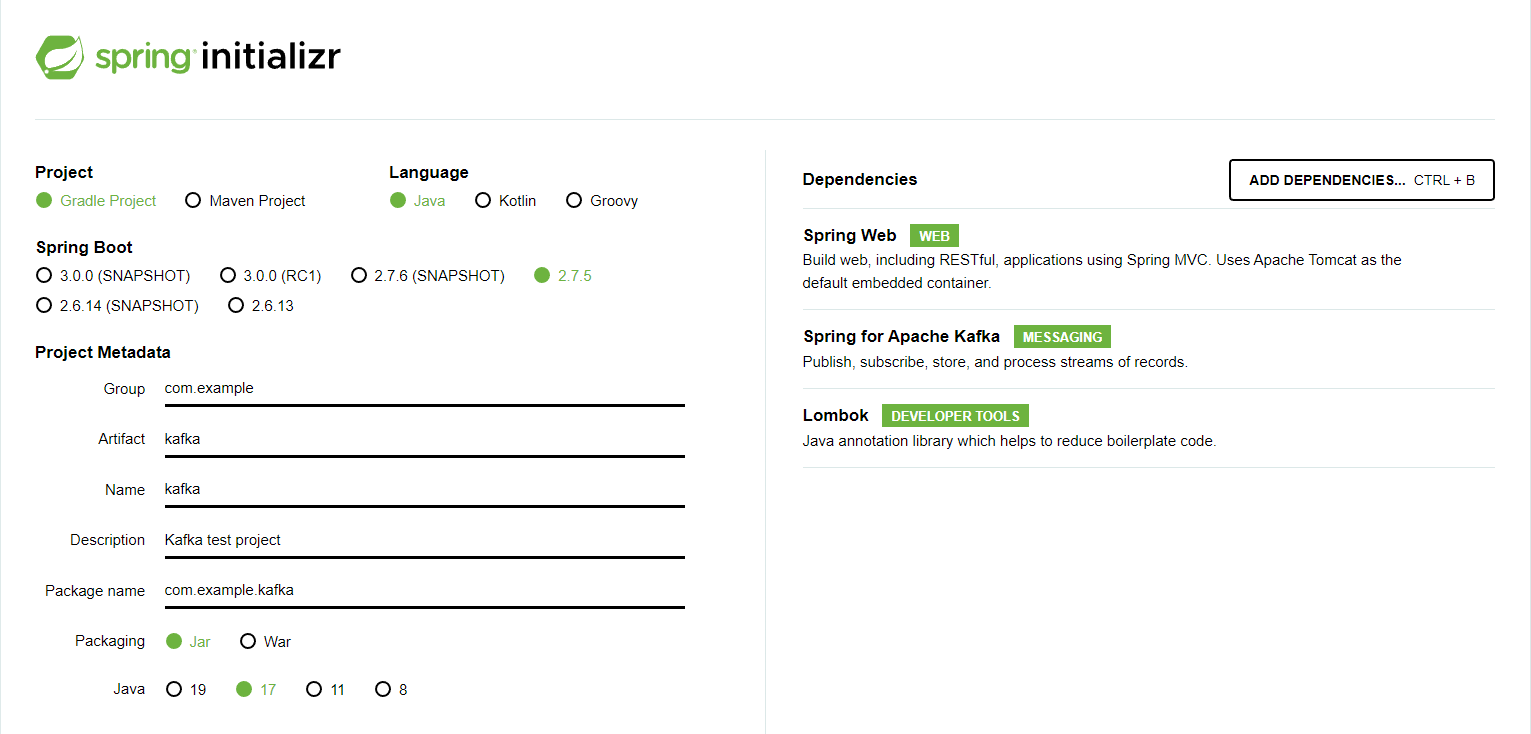
Spring Boot 프로젝트 생성
- https://start.spring.io 접속.
- 아래 사진과 같이 설정하고 프로젝트 생성.
프로젝트 불러오기
- 생성된 프로젝트 압축파일 풀기.
- 압축이 풀린 폴더를 IDE에서 폴더 열기로 프로젝트를 불러오기.
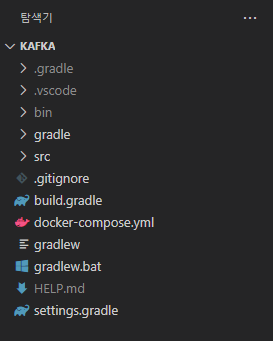
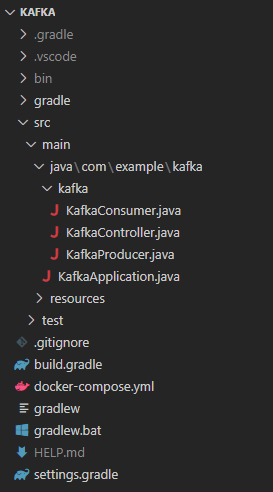
프로젝트 구조
application.yml 생성
- src/main/resources 디렉토리에 존재하는 application.properties 파일을 application.yml로 이름 변경.
- application.yml 파일에 다음 내용 추가.
spring:
  kafka:
    consumer:
      bootstrap-servers: localhost:9092
      group-id: test-group
      auto-offset-reset: earliest
      key-deserializer: org.apache.kafka.common.serialization.StringDeserializer
      value-deserializer: org.apache.kafka.common.serialization.StringDeserializer
    producer:
      bootstrap-servers: localhost:9092
      key-serializer: org.apache.kafka.common.serialization.StringSerializer
      value-serializer: org.apache.kafka.common.serialization.StringSerializer
docker-compose.yml 생성
- 프로젝트 최상단 위치에 docker-compose.yml 파일 생성.
- 해당 파일에 다음 내용 추가.
version: '3.8'
services:
  zookeeper:
    image: wurstmeister/zookeeper
    container_name: zookeeper
    ports:
      - "2181:2181"
  kafka:
    image: wurstmeister/kafka
    container_name: kafka
    ports:
      - "9092:9092"
    environment:
      KAFKA_ADVERTISED_HOST_NAME: 127.0.0.1
      KAFKA_ZOOKEEPER_CONNECT: zookeeper:2181
Docker 컨테이너 생성
- docker-compose.yml 파일이 생성된 위치에서 터미널 프로그램을 열고, 아래의 명령어 입력.
docker-compose up
KafkaController.java
package com.example.kafka.kafka;

import org.springframework.web.bind.annotation.PostMapping;
import org.springframework.web.bind.annotation.RequestMapping;
import org.springframework.web.bind.annotation.RequestParam;
import org.springframework.web.bind.annotation.RestController;

import lombok.RequiredArgsConstructor;

@RestController
@RequiredArgsConstructor
@RequestMapping("/kafka")
public class KafkaController {
    private final KafkaProducer kafkaProducer;

    @PostMapping
    public String sendMessage(@RequestParam("message") String message) {
        this.kafkaProducer.sendMessage(message);
        return "success";
    }
}
외부로부터 POST 방식으로 message 데이터를 받아 Producer로 전달하는 역할을 한다.
KafkaProducer.java
package com.example.kafka.kafka;

import org.springframework.kafka.core.KafkaTemplate;
import org.springframework.stereotype.Service;

import lombok.RequiredArgsConstructor;

@Service
@RequiredArgsConstructor
public class KafkaProducer {
    private final KafkaTemplate<String, String> kafkaTemplate;

    public void sendMessage(String message) {
        System.out.println(String.format("producer message: %s", message));
        this.kafkaTemplate.send("test-topic", message);
    }
}
Producer에서는 KafkaTemplate 객체를 생성한 뒤, send 메소드에 topic과 message를 담아 Kafka 서버로 전달한다.
KafkaConsumer.java
package com.example.kafka.kafka;

import org.springframework.kafka.annotation.KafkaListener;
import org.springframework.stereotype.Service;

@Service
public class KafkaConsumer {

    @KafkaListener(topics = "test-topic", groupId = "test-group")
    public void consumer(String message) {
        System.out.println(String.format("consumer message: %s", message));
    }
}
@KafkaListener 어노테이션을 사용해 Kafka 서버로 전송 된 message를 받아온다.
테스트
Spring Boot 프로젝트를 실행하고 아래 사진과 같이 Kafka 서버와 제대로 연동되었는지 확인해야 한다.

Kafka 서버와 제대로 연동되었다면, Postman을 통해 API를 호출한다.
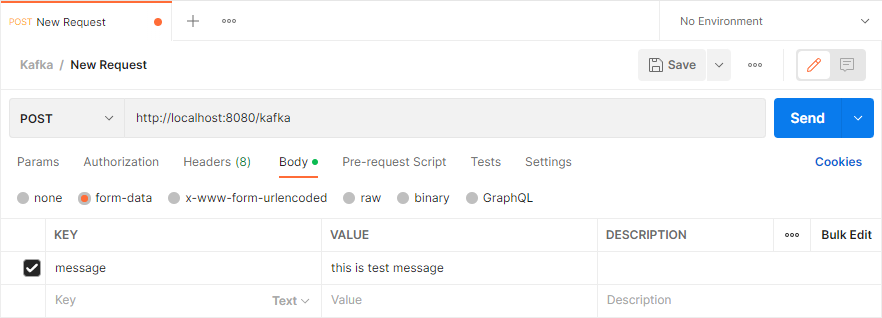
API 호출이 정상적으로 되었다면, 아래와 같이 터미널에 producer message, consumer message 두개가 찍혀야 한다.

정리하며
아직까지는 개인적으로 Kafka를 어디에 적용하는지 감도 안 잡히기는 하지만, 최근 상당히 핫한 기술이기도 해서 다른 글을 참고해 Spring Boot 프로젝트에서 Kafka를 사용할 수 있는 가장 간단한 예제 수준으로 구현해보았다. 추후, Kafka에 대한 좀 더 깊이 있는 내용을 다루어 볼 예정이다.